
Uploading an asset to App Store Connect does not make it public. Learn how Asset Library handles processing, App Review, approval, and placement, plus where Shipper helps.
Asset Library is a library, not a publishing switch
App Store Connect's Asset Library is where your app's screenshots, app previews, and creative assets can be uploaded and managed. You can keep compatible assets available to reuse on product pages, custom product pages, and other eligible placements. But storing an image in Asset Library is not the same as publishing it on App Store.
It helps to separate four actions: upload, processing, App Review, and placement. Your file first reaches Apple's library, may need a review submission, and must be assigned to the relevant location before users can see it. The exact release step depends on whether you are submitting an app version or updating an eligible creative placement.
Apple's Asset Library guide explains the central workflow. This is about marketing and product-page media, not assets bundled inside your app binary.
Upload: confirm the asset type and wait for processing
In App Store Connect, open Apps, select your app, and choose Asset Library in the sidebar. Click the add button and choose Upload Creative Assets or Previews and Screenshots. Upload the finished images or videos using the applicable Apple specifications. A source screenshot, an editable design project, and the exported file for Apple are different things.
The first two statuses are Uploading and Processing. Processing means Apple is checking the uploaded file; you cannot act on the asset until that step finishes. If the status becomes Prepare for Submission, the asset is in App Store Connect but has not yet been submitted to App Review.
Before continuing, open the asset's details. Apple's Works With field shows compatible placements, and you can use the library's Type, Status, and Format filters to locate the right file. Confirm the app, file type, device specification, and intended language or placement rather than interpreting a completed upload as final approval.
Review: submitted, accepted, and approved mean different things
For eligible standalone submissions, select the asset in Asset Library, choose Add for Review, add it to a draft submission or create one, and then select Submit for Review. If your app has never had an approved version, the assets must be included with its first app-version submission. After an app has an approved version, Apple allows certain standalone asset submissions without creating another version.
The statuses show the next action. Ready for Review means the asset is in a draft submission, but you have not sent it to App Review. Waiting for Review means Apple has received the submission; In Review means examination is under way.
Approved means Apple approved the asset. Rejected means it needs correction and resubmission or removal. Accepted is not equivalent to an approved, publishable submission: Apple uses it when other items in the same submission are rejected, and all items must be accepted before publication.
You can review Apple's complete App Store asset status definitions and standalone submission instructions. An upload's success message, on its own, cannot confirm App Review approval.
Placement: approval does not automatically make an asset visible
A reusable asset still needs an eligible destination. Screenshots and app previews are managed for the relevant app version, device size, and localization through Product Page Information or Media Manager. You can also browse assets already stored in Asset Library when setting up eligible placements such as custom product pages.
Creative assets have another path. For a product page Header or Search Results placement, choose a compatible asset in the Header and Search Results area. When these assets are part of a new app-version submission, they appear publicly after that version has been approved and released. If you want to compare these two placements and their distinct dimensions, see Product page headers vs search results assets.
For an app version already live, Apple documents a narrower shortcut: select an approved creative asset from Asset Library for the current Header or Search placement, then select Publish in App Store Connect. That can update the creative placement without submitting a new app version. It does not mean every screenshot or metadata change can skip the version or review workflow.
After publishing a placement, check the live product page or search presentation. Confirm the asset actually appears in the intended market and context rather than relying only on its status inside the library.
Where Shipper helps, and what still happens in App Store Connect
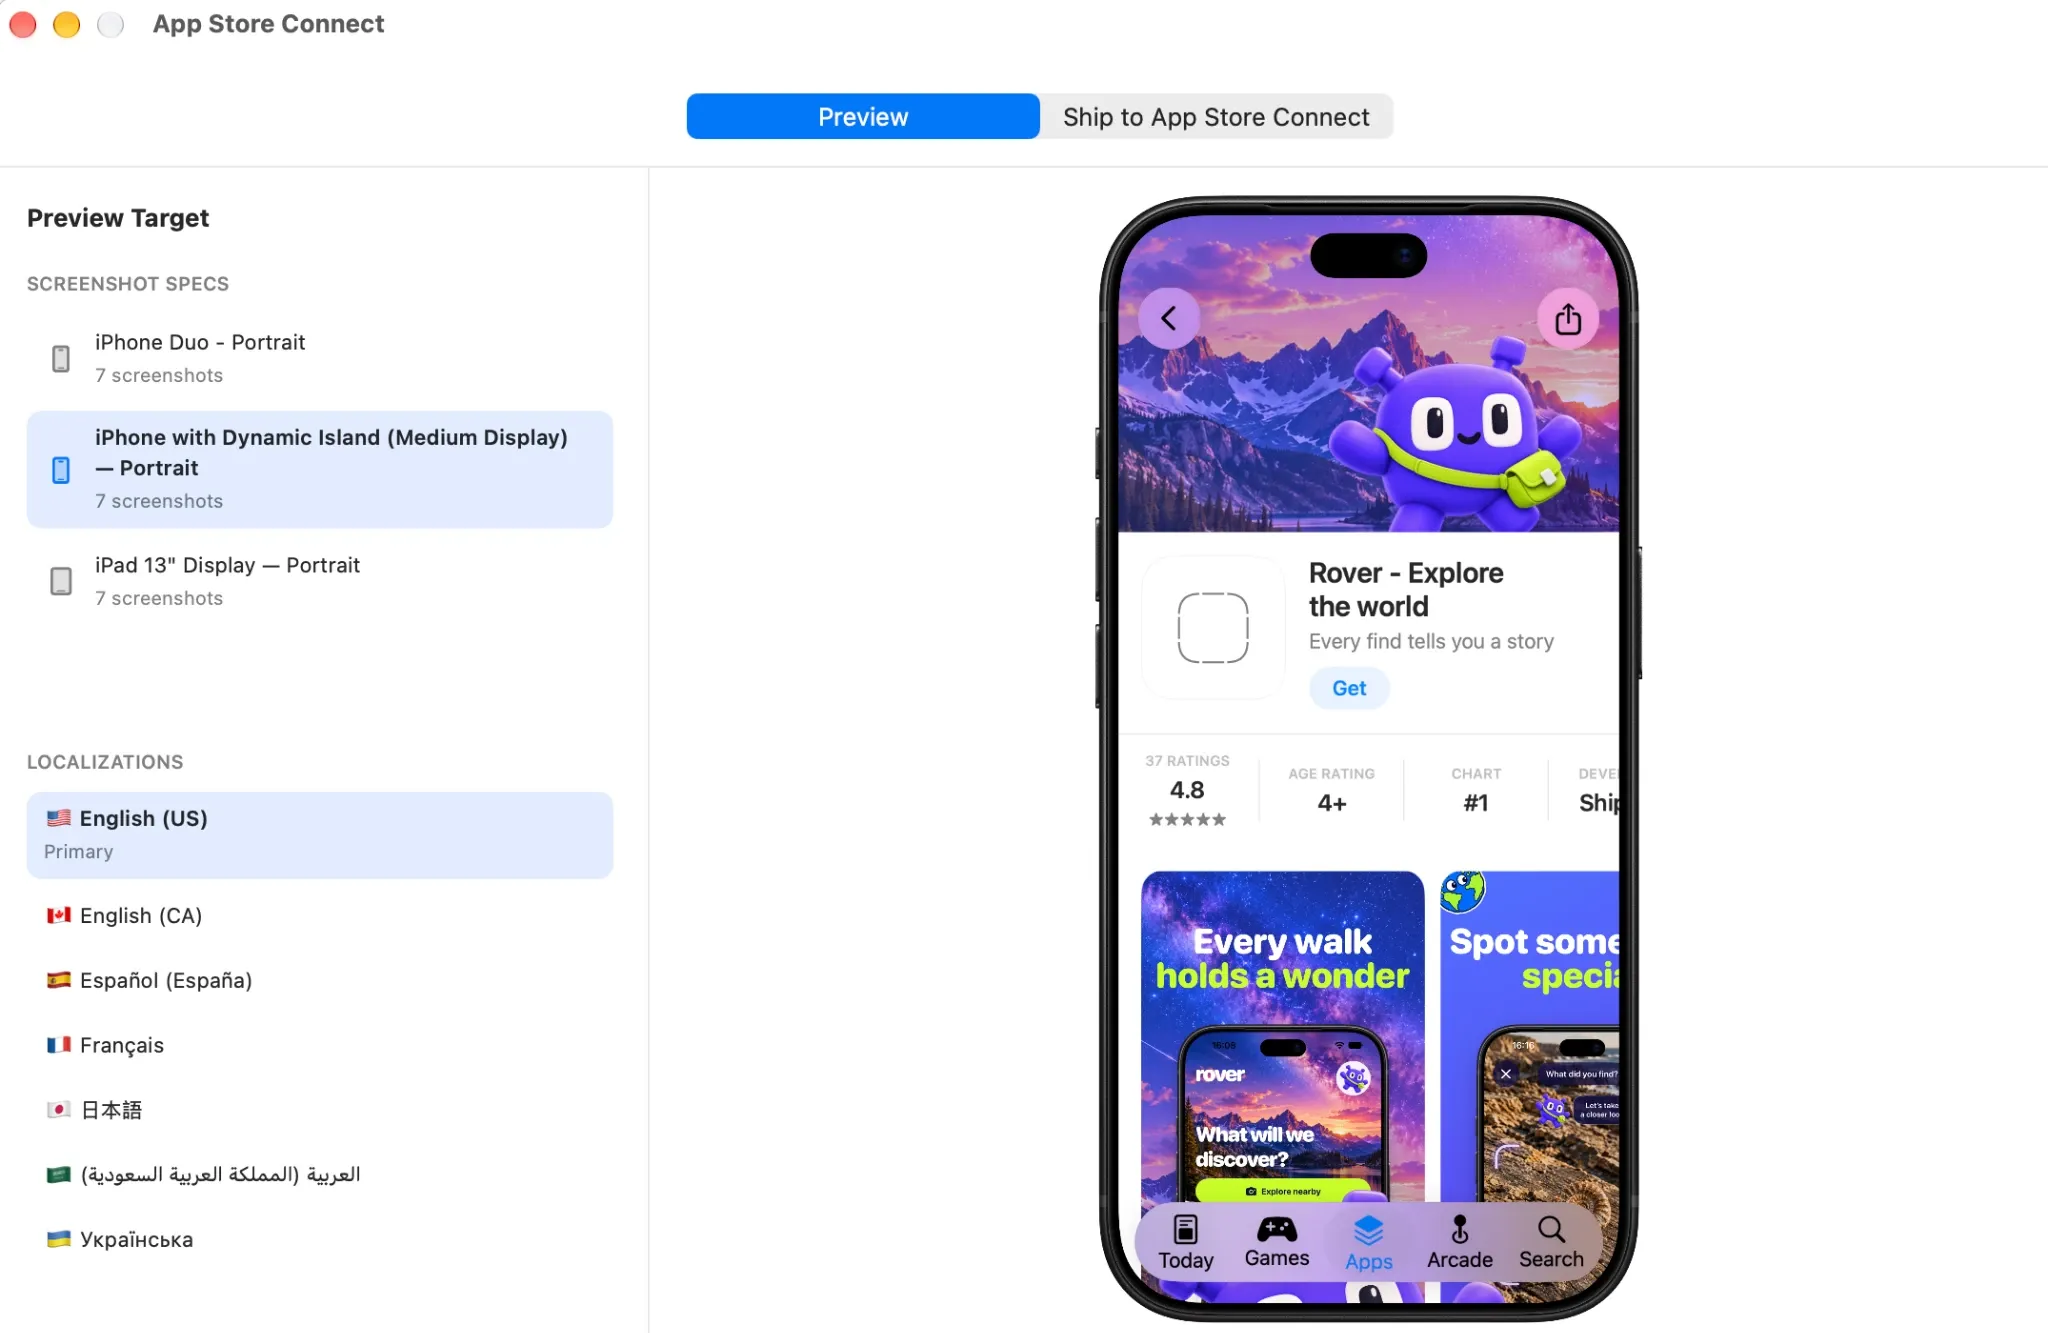
Shipper lets you prepare the files before Apple takes over. Bring in genuine app captures, build editable screenshot compositions, adapt them to supported specifications, and preview the result. With Shipper Free, you can design and export PNGs without a watermark; your Shipper project remains editable for later changes.
With Shipper PRO, connect the project to the correct Target App, review the selected specs, localizations, and assets, and use App Store Connect Publishing to send supported screenshots, Header and Search assets, and metadata to App Store Connect. This is delivery to Apple's system, not automatic App Review approval, placement assignment, or a public release.
For a practical final check, confirm the destination app and locale, then inspect processing and review statuses in App Store Connect. Select or confirm the intended placement, follow any required review or version-release steps, and verify the public result. Keeping the editable Shipper project means you can revise the design without treating each change as a brand-new screenshot project.
Shipper's App Store preview showing screenshot formats, localizations, and an App Store product page mockup before publishing:

 Download Shipper